

How to Upgrade Car Audio: Essential Tips for a Better Sound Experience
Posted by Jacob Morris on Jun 18th 2026
How to Upgrade Car Audio: Step‑by‑Step Guide from Amped Up Car Audio
Key Takeaways
-
Most factory speakers and head units are built to minimum cost, not maximum sound quality, and they typically distort at moderate volume levels. This guide walks you through the ideal order to upgrade a car audio system so every dollar delivers real results.
-
The recommended upgrade path is: assess your current system → choose goals and budget → upgrade head unit or DSP → add subwoofer and amps → replace factory speakers → treat doors with sound deadening and address power needs.
-
Modern head units with Apple CarPlay and Android Auto dramatically improve both sound quality and day‑to‑day usability, while outputting cleaner, stronger signals to your amplifiers.
-
A digital signal processor and proper amplification are what separate an "okay" upgrade from a truly high‑end audio experience, letting you fine tune staging, imaging, and tonal balance.
-
Amped Up Car Audio (online store) can design, supply, and professionally install complete systems, or support DIY customers with parts, wiring kits, and tech help at every stage.
Introduction: Why Upgrade Your Car Audio System?
Picture this: you're driving a 2018 Civic with the "premium" factory system, and your favorite song comes on. You crank the volume and immediately hear distortion creeping in, the mids sound thin, and the bass is almost nonexistent. Most factory speakers distort at moderate volume levels because automakers prioritize cost savings over audio performance. The factory head unit, the factory amplifier, and the stock speakers in most vehicles were never designed to deliver a real audio experience.
Upgrading a car audio system is the fastest way to transform every drive, whether it's a daily commute, a long road trip, or just sitting in the driveway enjoying music the way the artist intended. Your car's sound system is made up of a few core pieces: the head unit (your car stereo), speakers, amplifiers, subwoofers, wiring, and sometimes a digital signal processor. When any of these components are weak, the entire system suffers.
This guide covers all the details, showing you the ideal upgrade order and explaining when it makes sense to change that order based on your vehicle, goals, and budget. Upgrading a car audio system is best done in stages to maximize budget and sound quality, and this step‑by‑step approach ensures every new component builds on what came before.
Step 1: Define Your Goals and Budget Before You Buy Anything
Before spending a single dollar on car audio upgrades, decide what you actually want to hear. Choosing between bass, clarity, or both at the start saves money and prevents you from buying mismatched parts that don't work well together.
Here are three common goals and what they typically involve:
-
Better than stock on a budget - Replace the factory radio with a modern head unit, swap in coaxial aftermarket speakers, and add a compact subwoofer. Budget: under $500 for parts.
-
Clean daily driver with strong bass - New head unit or DSP, component speakers up front, a quality 12" sub on a dedicated amp, and basic sound deadening. Budget: $1,000–$2,500.
-
High‑output system for SPL and car shows - Multiple amplifiers, competition‑grade subwoofers, full sound deadening, DSP tuning, and electrical upgrades including a high output alternator and extra battery. Budget: $2,500 and up.
Before you choose a head unit, list your must‑have additional features. Do you need Bluetooth streaming? Apple CarPlay or Android Auto? A backup camera input? HD Radio? Knowing this upfront narrows your choices and prevents buyer's remorse.
For example, a driver who only listens through Spotify and wants deeper bass might skip HD Radio entirely and allocate that budget toward a better sub. Another driver who loves podcasts and navigation might prioritize a double‑DIN touchscreen with wireless CarPlay and worry about the subwoofer later.
Step 2: Assess Your Existing Car Audio and Vehicle Compatibility
Before buying any gear, analyze your current car audio system. Not all vehicles support modern audio upgrades the same way, and understanding vehicle compatibility helps avoid unnecessary costs.
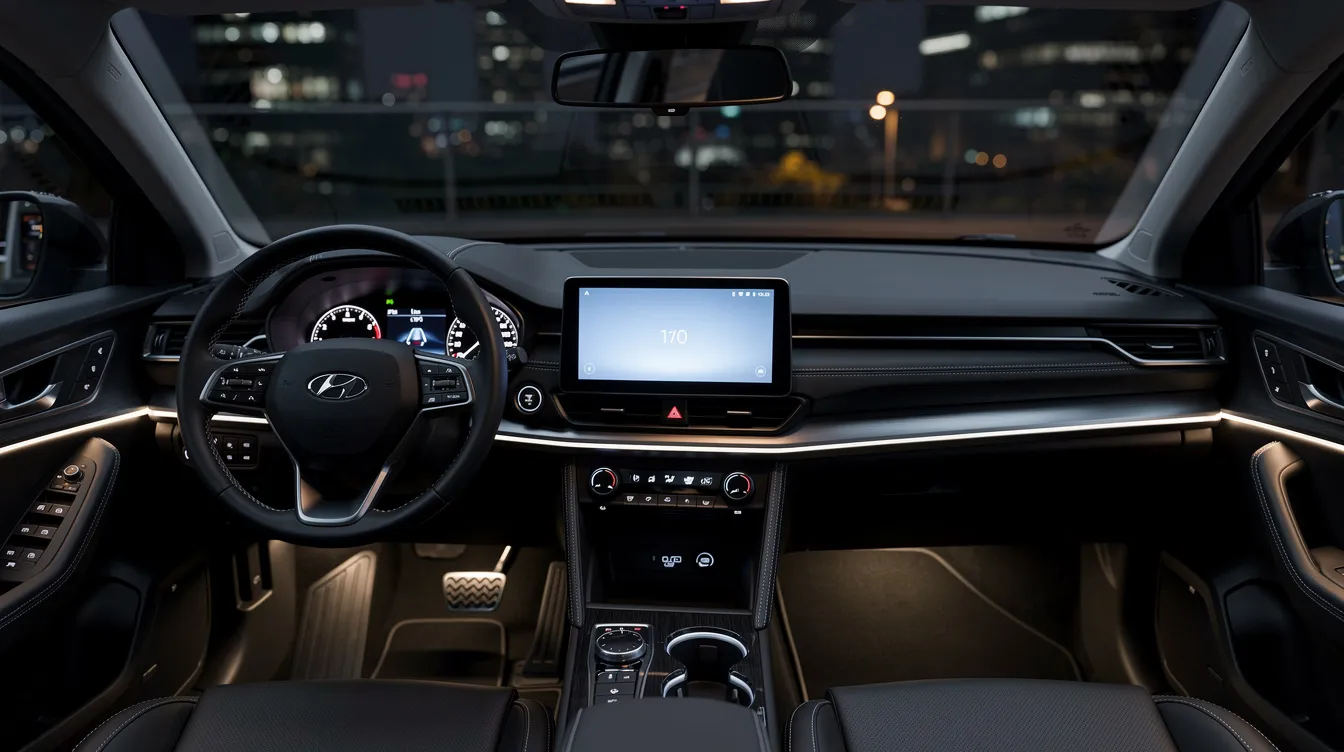
Newer vehicles (2015–2026) present the biggest challenge. In many modern vehicles, the factory screen is tied to climate controls, steering wheel buttons, parking sensors, and the factory amplifier. Removing the head unit can disable features you depend on. Factory-installed premium systems from brands like Bose, JBL, or Harman Kardon may limit upgrade options because they use proprietary amplification and non‑standard speaker impedances.
Newer vehicles often require special adapters for upgrades. Interface modules like the iDatalink Maestro let you retain factory vehicle info, steering wheel control, and safety features when swapping head units. These modules bridge the gap between aftermarket gear and your vehicle's data network.
Older vehicles (early 2000s and earlier) are the opposite story. Older vehicles typically have simpler audio systems for upgrades. Replacing the car stereo and door speakers is usually a straightforward bolt‑in process with basic wiring harness adapters.
To assess what you currently have:
-
Count every speaker location (doors, dash, rear deck, sails)
-
Check for a factory subwoofer (often hidden under the rear seat or in the trunk)
-
Note if your vehicle has an OEM "premium" system badge on the head unit or door speakers
-
Identify whether your car uses a standard DIN or double‑DIN opening, or an integrated screen
We recommend contacting Amped Up Car Audio with your vehicle year, make, model, and trim so staff can verify compatibility and suggest parts that fit without guesswork.
Step 3: Upgrade the Head Unit or Add a Digital Signal Processor
The head unit is the brain of your car audio system. It controls signal quality, volume, EQ, and connectivity. Everything downstream, from your amplifiers to your speakers, is limited by the quality of the audio signal your source unit sends.
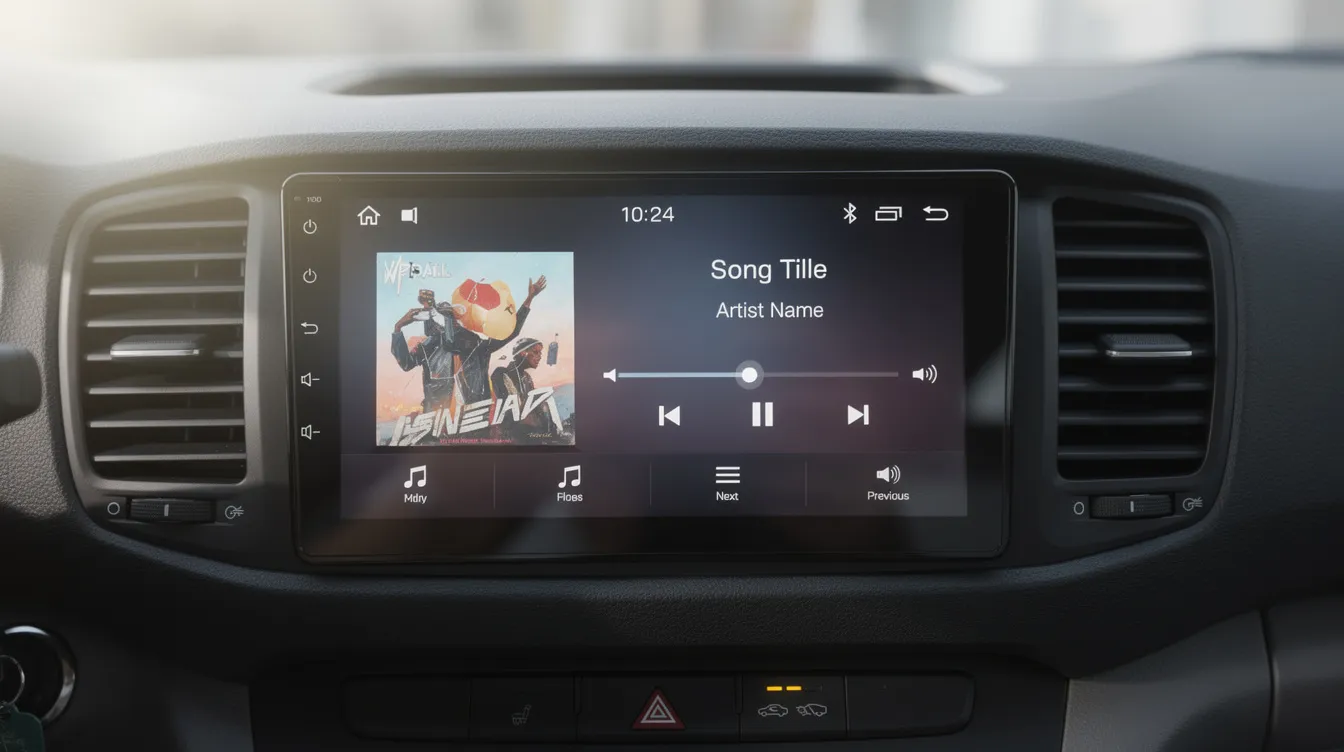
Replacing the factory radio is the most effective first step in upgrading car audio, and upgrading the head unit improves audio signal quality significantly. Factory head units output weak signals between 0.5 and 2 volts, which forces amplifiers to work harder and introduces noise. High-quality aftermarket head units can output signals up to 5 volts, delivering a cleaner, stronger foundation for the rest of your system.
Replacing the Factory Head Unit
A new head unit is ideal when you have an older car, or a vehicle with a basic radio where you want Apple CarPlay, Android Auto, better pre‑outs, and cleaner sound. Look for these specifications in a modern head unit:
-
At least 3 pairs of 4‑volt (or higher) pre‑outs
-
Built‑in time alignment and 13‑band or higher EQ
-
Wireless or wired CarPlay and Android Auto
-
Bluetooth with high‑quality codec support
-
Expansion options for external amplifiers and subwoofers
Upgrade the head unit first for better sound quality. Even without changing a single speaker, a quality head unit sends a dramatically better signal through your system.
Adding a Digital Signal Processor Instead
A DSP (Digital Signal Processor) is a device that allows for fine-tuning and equalization of the audio system. It is ideal for newer vehicles where the factory screen is tied to safety systems or climate controls, or where you want better sound without changing the dash. Many drivers of 2016–2026 vehicles choose this route.
A digital signal processor allows for fine-tuning and equalization of the audio system. It sits between the source and the amplifiers, correcting the factory radio's built‑in EQ curves, applying precise crossovers, and using time alignment to fix the imaging problems caused by asymmetric speaker placement in a car cabin. A DSP turns average aftermarket speakers into something that sounds genuinely high‑end.
Amped Up Car Audio stocks touchscreen head units and standalone DSPs, and can pre‑configure settings for common vehicles to save you time during installation.
Step 4: Add Power – Amplifiers and Electrical Upgrades
Factory head units and their tiny built‑in amps usually deliver only 15–20 watts RMS per channel. That might sound acceptable at lower volumes, but it limits clarity, dynamic range, and your ability to enjoy music at higher volumes without distortion.
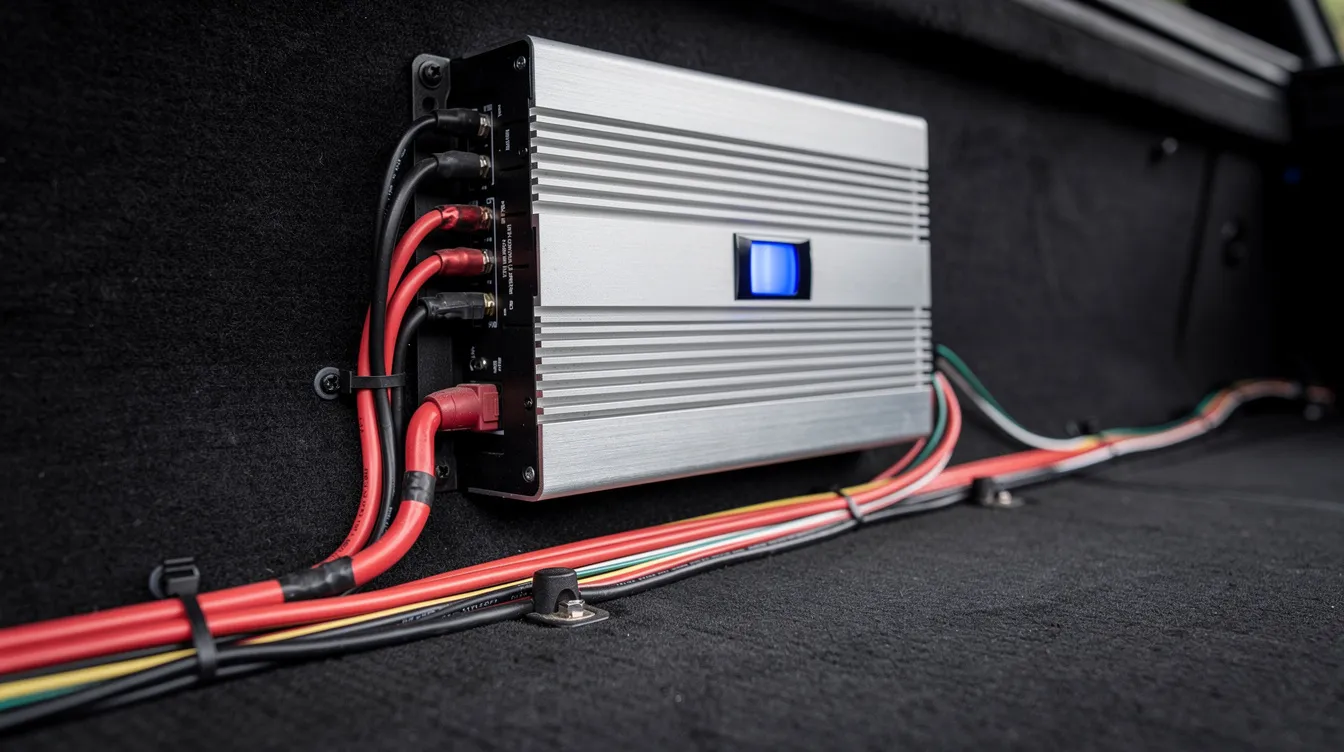
Dedicated external amplifiers are critical. Aftermarket amplifiers provide stable power and clean headroom, giving your speakers the current they need to perform at their best. External amplifiers deliver cleaner sound and more power than built-in options, and the difference is immediately audible.
Typical Amp Configurations
|
Configuration |
Best For |
Example |
|---|---|---|
|
4‑channel amp |
Powering front and rear door speakers |
75 W RMS × 4 channels |
|
Mono block amp |
Driving a subwoofer |
500–1,000 W RMS × 1 channel |
|
5 or 6‑channel amp |
Running speakers + sub from a single chassis |
75 W × 4 + 500 W × 1 |
For daily listening, 50–100 watts RMS per door speaker and 300–1,000 watts RMS to the sub stage is plenty for most builds. Install an amplifier after upgrading speakers for optimal performance, ensuring the amp is properly matched to the drivers it powers.
For a deeper dive into amplifier types and efficiency, see our comparison of Class D Amplifier vs AB: Which Offers Better Performance and Value?
When Your Car's Electrical Needs Attention
Watch for these warning signs that your vehicle's electrical system can't keep up:
-
Headlights dimming with bass hits
-
Voltage dropping below mid‑12s under load
-
Planned total system power above ~1,000 watts RMS
The Big 3 Upgrade enhances electrical flow in car audio systems by replacing or supplementing the three most critical wiring runs: alternator positive to battery positive, battery negative to chassis, and engine block to chassis ground. Using high-quality wiring prevents power loss and minimizes signal loss. For moderate systems under 1,000 W RMS, 4 AWG OFC cable is typically sufficient. For larger builds, 1/0 AWG is recommended. Check our Wire Gauge Chart for Amplifiers for detailed sizing guidance.
Upgrading to a bigger alternator prevents dimming lights and keeps voltage stable during demanding bass passages. A high-output alternator can provide up to 3,700 watts of electrical capacity. Adding a second battery increases reserve capacity for audio systems, ensuring the amp draws from dedicated reserves rather than competing with your vehicle's starting battery.
Amped Up Car Audio sells complete amp wiring kits, distribution blocks, fuses, and dedicated car audio batteries, and can help calculate safe current draw for your specific build.
Step 5: Replace Factory Speakers with Quality Aftermarket Speakers
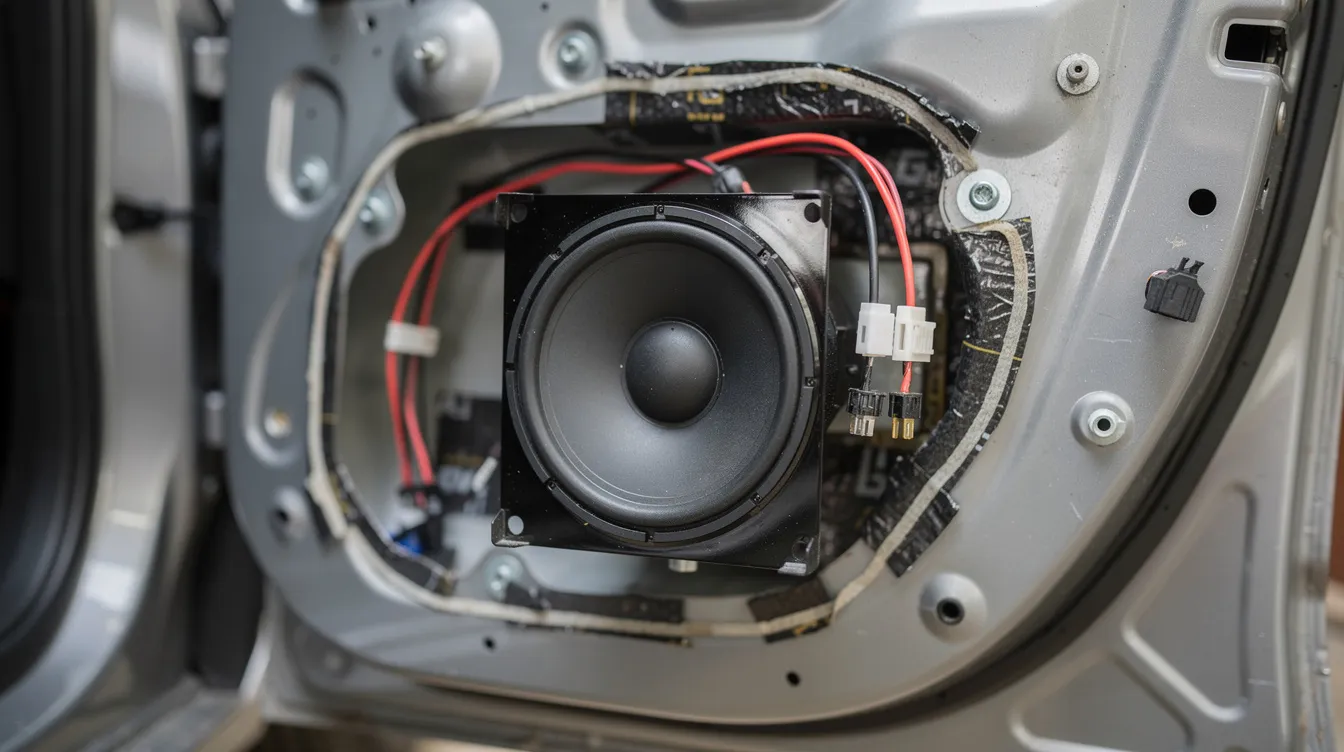
Factory speakers are often the weakest link in any car's sound system. They typically feature thin paper or polypropylene cones, tiny magnets, and low power handling. Most factory speakers distort at moderate volume levels, and environmental factors like heat, humidity, and UV exposure can accelerate speaker cone fatigue, further degrading performance over time.
Replace factory speakers to improve sound clarity and detail. Aftermarket speakers improve sound clarity and detail because they use higher‑grade materials, larger magnets, and voice coils designed to handle real amplifier power.
Coaxial vs Component Speakers
|
Feature |
Coaxial |
Component |
|---|---|---|
|
Design |
Tweeter mounted on woofer, all‑in‑one |
Separate tweeter, mid‑woofer, passive crossover |
|
Installation |
Drop‑in, easy |
Requires tweeter mounting location, more involved |
|
Typical RMS handling |
35–65 W |
65–100+ W |
|
Sound staging |
Good |
Excellent |
|
Price |
Lower |
Higher |
Your front‑stage door speakers (typically 6.5" or 6×9") handle the majority of vocals and instruments, shaping the overall sound quality of the entire system. Upgrading speakers in the front doors produces the most dramatic improvement in sound clarity and imaging.
Match speaker sensitivity and RMS rating to the available amplifier power. A high‑sensitivity speaker (92–95 dB at 1 W/1 m) will sound noticeably louder with less amp power, which matters in builds where budget or electrical capacity is limited. Speakers perform best when driven by an amp delivering power within their rated RMS range.
Use vehicle‑specific mounting brackets, harness adapters, and foam baffles to make installation clean and reversible. These small accessories prevent air leaks behind the speaker that degrade mid‑bass response.
Amped Up Car Audio carries mid‑bass drivers, high‑end component speakers, efficient coaxials, and dedicated tweeters, and can suggest specific sets for vehicles like F‑150s, Jeeps, and Hondas.
Step 6: Add a Subwoofer and Enclosure for Real Bass
Even good door speakers cannot reproduce the lower frequencies between 20 and 60 Hz at volume without distortion. A dedicated subwoofer is essential for filling in that bottom end. Adding a subwoofer significantly enhances bass response, and subwoofers handle the 20–100 Hz frequency range that door speakers simply aren't designed to reproduce.
Adding a subwoofer provides deeper bass and a fuller sound experience. Adding a subwoofer requires its own amplifier, typically a monoblock amp designed specifically for low-frequency duty.
Subwoofer Sizes and Tradeoffs
|
Size |
Best For |
Tradeoff |
|---|---|---|
|
8"–10" |
Compact vehicles, under‑seat installs |
Less deep extension, lower output |
|
12" |
Most daily‑driver builds |
Great balance of output and size |
|
15" |
SPL builds, large trucks/SUVs |
Massive output, requires significant trunk space |
Enclosure Types
-
Sealed - Tight, accurate bass with excellent transient response. Smaller footprint, but needs more power to reach the same volume as a ported box.
-
Ported - Louder and more efficient, especially at the tuning frequency. Larger enclosure. Great for drivers who want to feel the bass.
-
Prefab truck boxes and under‑seat enclosures - Space‑saving solutions for trucks, SUVs, and sedans with limited cargo area.
Match the subwoofer's RMS rating to your amplifier power. A reliable rule of thumb: your amp should deliver 75–150% of the sub's RMS rating. A 500 W RMS sub pairs well with an amp delivering 400–600 W RMS at the correct impedance. For more on this, read our guide on Choosing A Subwoofer For Your Car Audio System.
A solid starting point for a daily‑driver system: a single 12" subwoofer in a properly built enclosure powered by a 500–800 watt RMS mono amp. This delivers genuinely impressive bass without overwhelming the vehicle's electrical system.
Amped Up Car Audio offers loaded subwoofer enclosures, raw subwoofers for custom boxes, and accessories like eco bass knobs for precise bass control from the driver's seat.

Step 7: Control Noise – Sound Deadening and Door Treatment
Road noise, panel resonance, and rattles can mask detail and make even premium gear sound mediocre. Sound damping material reduces road noise and eliminates door rattles that compete with your music. Applying soundproofing materials reduces ambient road and wind noise, letting you hear more of the music and less of the road.
Basic Door Treatment
The most impactful place to start is the doors. A proper door treatment includes:
-
Applying butyl rubber sound deadening mats to the outer door skin (the metal panel behind the speaker)
-
Sealing large access holes in the inner door panel with additional deadening or composite sheets
-
Adding foam gaskets or baffles behind door speakers to create a sealed baffle for better mid‑bass response
-
Targeting about 70–80% surface area coverage on each door panel, using material that's 2–3 mm thick
This level of treatment typically yields a 3–7 dB reduction in road and structural noise, which translates to a noticeably quieter cabin and more music reaching your ears at any volume.
Other High‑Impact Areas
Beyond the doors, treat these areas for the best return on investment:
-
Trunk lid - Especially important around subwoofer enclosures where panel vibration is worst
-
Rear wheel wells - A major source of tire noise on the highway
-
Floor near the transmission tunnel - Reduces drivetrain drone and general road noise
The improvement is easy to describe: imagine hearing subtle details in your favorite song that road noise previously buried. Quieter cabin means more of your amplifier power is heard as music, not lost to background noise. The driving experience genuinely changes.
Amped Up Car Audio stocks sound deadening materials, application rollers, and installation accessories, and can quote full vehicle treatment at the Conover, NC shop.
Step 8: Plan the Ideal Upgrade Order (and When to Break It)
Here's the ideal order for most beginners looking to upgrade car audio:
-
Head unit or DSP - Clean up the source signal first
-
Subwoofer + mono amp - Add the bass foundation
-
Aftermarket speakers - Improve the front stage
-
Multi‑channel amp for speakers - Give those new speakers real power
-
Sound deadening - Quiet the cabin and eliminate rattles
-
Electrical upgrades - Big 3 wiring, battery, alternator as needed
This sequence works because each step builds on the previous one. You start with the cleanest possible signal, add the component that makes the most dramatic difference (bass), then refine the front stage and environment. Skipping upgrade steps can lead to compatibility issues, like buying a powerful amp before ensuring your electrical system can support it.
A Phased Build Example
Consider a 2017 Camry owner with a $1,500 budget spread over six months:
-
Month 1–2: Replace the factory radio with a double‑DIN CarPlay head unit ($250). Immediately gains cleaner signal output, Bluetooth, and navigation.
-
Month 3–4: Add a 12" sub in a sealed enclosure with a 500 W RMS mono amp and wiring kit ($450). The deeper bass and low‑end presence transform the listening experience.
-
Month 5–6: Swap front door speakers to components, add a 4‑channel amp ($500), and apply sound deadening to the front doors ($150). Clearer sound, better imaging, and less road noise complete the build.
When to Change the Order
There are good reasons to deviate:
-
If the factory radio must stay (integration reasons in newer vehicles), start with a DSP instead
-
If a customer only cares about bass, going straight to a sub and mono amp makes sense, then circle back to the head unit later
-
If the vehicle already has decent speakers but terrible road noise, sound deadening first might yield the biggest perceived improvement
The key is to plan purchases around a long‑term system design so you don't outgrow small amps or end up with mismatched new components. Think of it as building a house: foundation first, then walls, then paint.
Step 9: DIY vs Professional Installation
Many enthusiasts can handle basic installs, but modern vehicles with airbags, data networks, CAN bus communication, and integrated electronics are significantly more complex than cars from 20 years ago. Modern vehicles require specialized tools for audio upgrades.
What's Realistic for a Careful DIYer
-
Swapping coaxial door speakers with plug‑and‑play harness adapters
-
Installing a simple amplifier and sub with a wiring kit in a trunk
-
Replacing a basic single‑DIN head unit in an older vehicle
-
Applying sound deadening mats to doors and the trunk
When Professional Installation Is Strongly Recommended
-
DSP tuning and time alignment using an RTA (real‑time analyzer) and measurement microphone
-
Complex multi‑amp systems with multiple crossover points
-
Retaining factory safety features, backup cameras, or data‑linked controls
-
Working on newer vehicles with CAN bus integration or fiber‑optic audio networks
Professional installation ensures upgrades are done correctly. DIY upgrades can lead to costly repairs if mistakes are made, especially in vehicles with complex wiring harnesses or active safety systems. Professionals save time and frustration during installation, and expert installers ensure long-term performance of audio systems through proper gain setting, wiring techniques, and component matching.
Proper gain setting and amplifier tuning with test tones and measurement tools can dramatically improve imaging and tonal balance beyond what default settings ever provide.
Amped Up Car Audio offers full design, installation, and tuning services at the Conover, NC shop, plus remote guidance for customers who buy gear online. All professional installs include workmanship guarantees, giving you confidence that the system will perform reliably for years.
Choosing the Right Brands and Components for Your System
Choosing brands known for reliability, clear specifications, and strong support matters far more than chasing the cheapest wattage claims on a spec sheet. Different brands specialize in different areas: some excel at subwoofers and SPL gear, others focus on high‑fidelity speakers and tweeters, and others build outstanding DSPs and integration hardware.
The smartest approach is building a system with compatible components. Match amp power to speaker impedance and subwoofer ratings. Ensure your wiring is properly gauged for the current draw. Confirm your electrical system can handle the total load. A balanced system where every component is working within its ideal range will always outperform a system with one overbuilt piece and three underpowered ones.
Browse curated categories on Amped Up Car Audio - speakers, subwoofers, amplifiers, wiring, and batteries - to simplify your decision‑making process. Staff at Amped Up Car Audio can spec out complete packages for common vehicles and budgets, reducing guesswork for beginners and ensuring every component plays well together.
How Much Power Does Your Car Audio System Actually Need?
This is one of the most common questions beginners ask, and getting it right prevents wasted money and poor performance. The answer depends entirely on your goals, your vehicle, and how you listen.
RMS vs Peak Power: The Only Number That Matters
When comparing amplifiers and speakers, ignore "peak" or "PMPO" ratings entirely. These numbers represent brief, momentary power spikes and tell you nothing about real‑world performance. RMS (Root Mean Square) power describes the continuous power a component can handle cleanly over time. It's the only spec that matters when matching amps to speakers and subs. For a detailed breakdown, read our guide on Peak vs RMS Power in Car Audio: What's the Real Difference?
A Simple Example Calculation
Consider a system with:
-
Four door speakers rated at 75 W RMS each = 300 W RMS total
-
One subwoofer stage at 600 W RMS
-
Total system demand: ~900 W RMS
At typical amplifier efficiency (Class D around 80–90%), that system draws roughly 75–95 amps from the electrical system at full tilt. A stock alternator on most vehicles produces around 100–130 amps, so this build is right at the edge. A Big 3 wiring upgrade and a quality AGM battery would keep voltage stable. Moving beyond this level demands a second battery or high output alternator.
How Much Is Enough?
For most daily drivers, 500–1,500 watts RMS total system power is plenty. Many drivers find that 75 W RMS per front speaker and 500 W RMS to a single sub delivers more power and more authority than they ever expected, especially when driven by a clean head unit or DSP with proper time alignment.
The vehicle's electrical capacity (alternator output and battery reserve) sets an upper limit on safely usable amplifier power without dimming lights or stressing components. Amped Up Car Audio can help size amplifiers, wiring, and batteries correctly for your specific vehicle and goals.
This section connects directly to our larger car audio buying guide for beginners, where we cover every component decision in greater depth.
Frequently Asked Questions (FAQ)
Frequently Asked Questions About Upgrading Car Audio
These FAQs cover common concerns that aren't fully answered in the main sections, aimed at beginners planning their first upgrade.
How much does a complete car audio upgrade usually cost?
Realistic ranges for parts and labor break down as follows:
-
Basic speaker and subwoofer upgrade: Under $800 for parts, plus 3–5 hours of labor
-
Mid‑level system (head unit or DSP, component speakers, sub, amp, basic deadening): $1,000–$2,500
-
High‑end builds (multiple amps, DSP, full deadening, electrical upgrades, custom enclosures): $3,000 and up
Key cost drivers include the number of amplifiers, whether you add a DSP, custom vs prefab enclosures, sound deadening coverage, and the complexity of your vehicle's integration. Contact Amped Up Car Audio with a target budget so a tailored package can be designed upfront, ensuring you get the most performance per dollar.
Can I keep my factory radio and still get a big improvement in sound?
Absolutely. In many 2016–2026 vehicles, the factory screen is best left in place for integration and resale value. Adding a DSP amplifier, quality aftermarket speakers, and a subwoofer can dramatically improve sound clarity and bass while retaining all original controls, including climate controls, steering wheel buttons, and parking assist. Amped Up Car Audio offers OEM integration solutions and can identify the right interface modules for your specific vehicle.
Will upgrading my car audio system drain my battery or damage my alternator?
Properly designed systems with correctly sized wiring, fusing, and reasonable total RMS power are safe for your vehicle's electrical system. Symptoms of electrical strain include dimming headlights at idle, slow cranking, or voltage dropping significantly when the bass hits. For larger systems, a Big 3 upgrade, quality AGM or lithium battery, and possibly a high output alternator resolve these issues entirely. Amped Up Car Audio can supply and install all of these components.
Do I really need a digital signal processor (DSP) for good sound?
A DSP is not mandatory for every build, but it is the single most powerful upgrade for fine‑tuning staging, imaging, and tonal balance. Even factory radios with odd built‑in EQ curves can be corrected with a DSP, unlocking the full potential of amplifiers and speakers. Sound travels at roughly 343 meters per second, and because your speakers are at different distances from your ears, time alignment delays of just 1–5 milliseconds can completely transform how centered and focused the soundstage feels. Amped Up Car Audio can pre‑tune DSP profiles or perform in‑car tuning with measurement microphones for the best possible results.
How long does a typical car audio upgrade take to install?
Realistic timeframes depend on complexity:
-
Simple head unit swap: 2–3 hours
-
Speaker and sub upgrades: Half a day (4–6 hours)
-
Full system builds with DSP, multiple amps, and sound deadening: 1–2 full days
Complex modern vehicles or custom fabrication (fiberglass pods, custom enclosures, wire routing through tight spaces) can extend timelines further, and professional shops will schedule accordingly. As an online-only retailer, Amped Up Car Audio provides expert guidance, detailed product information, and support to help you plan your installation and choose the right components for your vehicle. While we do not offer in-person installation, we connect you with trusted professional installers in your area or provide comprehensive DIY resources to ensure a successful upgrade.
Ready to Upgrade Your Car's Audio System?
Upgrading car audio is best done with a clear plan: define your goals, choose the right components, and follow a smart install order. Every step in this guide is designed to build on the last, so your system sounds better at each stage and nothing goes to waste.
Visit Amped Up Car Audio online to shop subwoofers, amplifiers, speakers, wiring kits, batteries, and DSPs curated for beginners and enthusiasts. We provide expert advice and support to help you find the perfect components for your car audio upgrade from the comfort of your home.
Want a no‑obligation system review? Send us your vehicle year, make, model, music preferences, and budget, and we'll reply with a complete parts list and upgrade roadmap tailored to your vehicle.
Start your upgrade today with Amped Up Car Audio and turn every drive into a true audio experience.
Check out more posts on our blog for guides on enclosure design, amplifier tuning, troubleshooting, and everything else you need to build the system you've always wanted.